Target Builder: Create a Target Group Using the Grid View
NOTE: Perform this procedure only if you are using a Claritas segmentation system as your source to create your target groups.
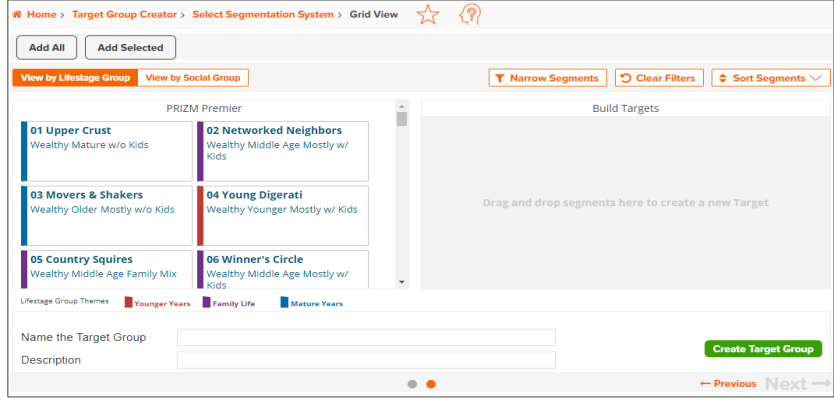
On the Grid View screen, on the left pane, you can click the segment that you want to include as your target and then click Add Selected, or click and drag it to the right pane. You can select one or more segments. Once you have made your selections, name your target, and define your target theme.
(Optional) You can click Add All to select all segments displayed. You can also sort or filter the displayed segments prior to making your selections.
To create additional targets, repeat the procedure or click and drag the segments to the Drag and drop segments here to create a new Target area.
After creating your targets, you can name your target group, add a short description, and then click Create Target Group.
When the job has been submitted and a message box appears specifying that your target groups have been successfully created, click OK to close the message box.
You can view the target group generation status on the My Jobs screen. The generated target groups are also saved to your My Content.
To Learn More:
|
Target Builder, Using Previously Defined Targets - Walkthrough |
- (Optional) On the Grid View screen, sort the segments displayed on the left pane by clicking Sort. The following options are available:
-
Segment Code
-
Segment Name
-
Lifestage Group (for Claritas PRIZM Premier, Claritas P$YCLE Premier and Claritas ConneXions)
-
Social Group (for PRIZM® Premier only)
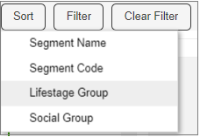
The system automatically sorts the segments according to your selection.
- (Optional) To filter the segments displayed on the left pane, do the following:
- Click Filter. A list of demographic variables such as Lifestage Groups, Education, and Employment appears.
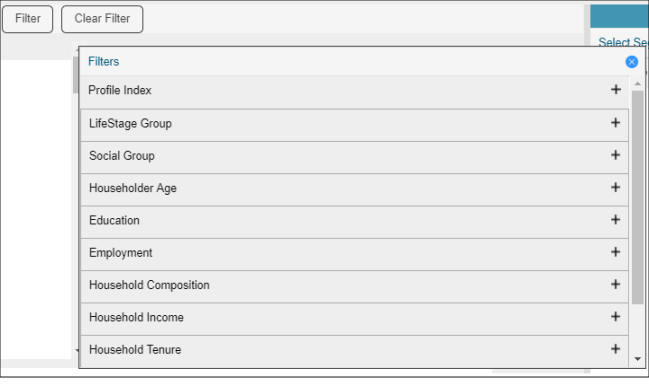
- Click the plus (+) sign to expand and view the options available for each variable.
- Specify the conditions that you want to use as a filter for each selected variable. You may need to navigate to and locate specific variable conditions, and click the OFF button available for each condition to set it to ON.
The system automatically filters the segment display based on your specified variable conditions.
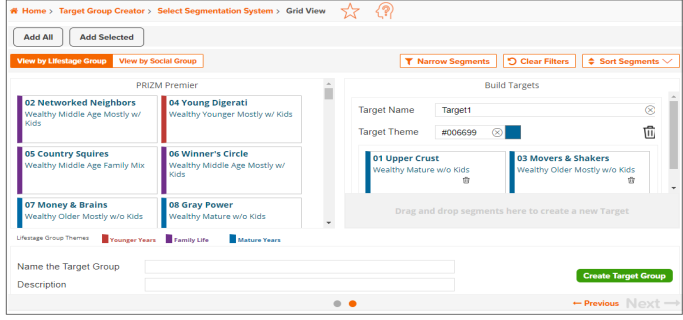
- To create a target, click the segment that you want to include as your target and then click Add Selected, or click and drag it to the right pane. After moving a segment, the Target Name and Target Theme options become available.
- Repeat Step 3 to add more segments to your target.
- By default, the Target Name text box displays Target 1 as the target name. Type a new name in the Target Name text box.
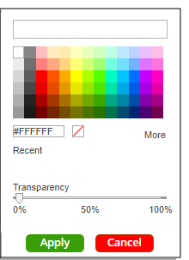
- By default, the system assigns a target theme. To change the default theme, click the colored box to the right of Target Theme and when a color palette appears, select your desired color and drag the Transparency slider to set your desired transparency settings.
- To create additional targets, locate the Drag and drop segments here to create a new Target area below the first target that you created and then repeat Steps 3 through 6.
- After you have created all desired targets, in the Name the Target Group text box, type a name for your target group.
- (Optional) In the Description text box, type a short description about your target group.
- Review your settings and then click Create Target Group. A message box appears specifying that your target groups have been successfully created.
- Click OK to close the message box. The Use My Target Group screen appears showing you the following tiles or options to select from:
- Target Builder - Returns you to the Target Builder module to create another target group
- Target Segment Measures - Allows you to generate a Target Segment Measures report using your created target group(s)
- Target Concentration - Allows you to generate a Target Concentration report using your created target group(s)
- Dominant Target - Allows you to generate a Dominant Target report using your created target group(s)
- Home - Returns you to the Home screen
What's Next:
View the Job Status/Output File