Potential Vs Potential Report: Specify a Report Output Type and the Report Name
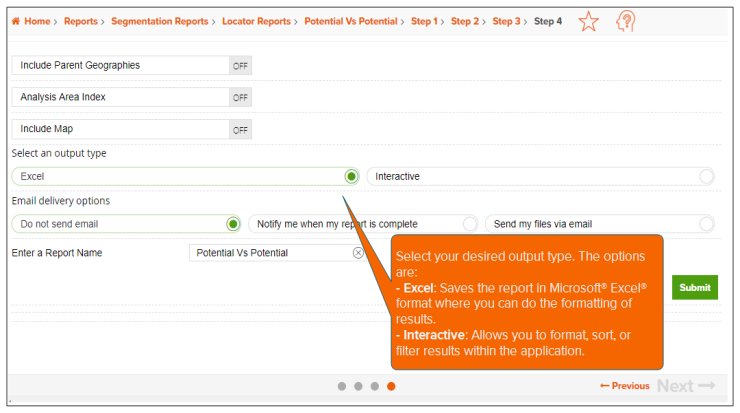
On the screen similar to the one shown below, specify your preferred sort method, the report output type and the name for your report.
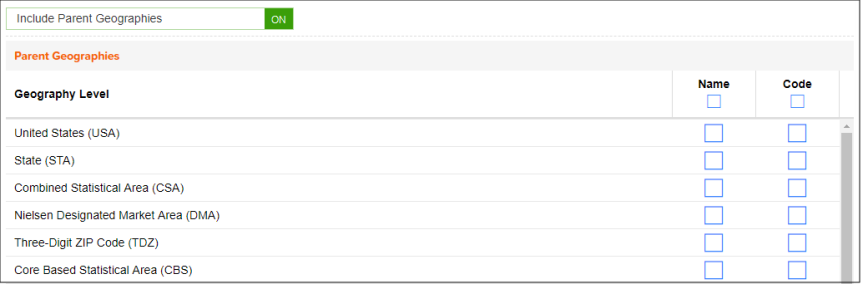
(Optional) You can also specify to append parent geographies to your report.
NOTE: The Step number assignment that displays on top of the screen and the available options may differ depending on your selections on the previous screen, your device, and/or your screen resolution.
After verifying your selections, click Submit.
You can view the report generation status and the generated report on the My Jobs screen.
NOTE: If you selected the Interactive output type, the system takes you to the Interactive Report screen where you can format, sort, and/or filter the results.
To Learn More:
Potential vs Potential Report - Interpretation & Calculations
NOTE: Depending on your selections, screen resolution, or device, some of the options mentioned below may not appear on this screen and you may need to go to the next screen to complete the process. Simply follow the instructions below to set those parameters or refer to the Help provided for the next screen.
- (Optional) To append parent geographies to the report, click the OFF button next to Include Parent Geographies to set it to ON. When the Parent Geography pop-up window appears, click the Name and/or Code check box next to the parent geography(ies) that you want appended to the report.
- (Optional) To calculate the index using the projected counts based on the selected profile's users count within the selected analysis area, click to OFF button next to Analysis Area Index to set it to ON.
- (Optional) If you want to include a map, do the following:
- Click the OFF button next to Include Map to set it to ON. Additional options appear.
- In the Select a color scheme drop-down list, select the color theme that you want to use in your map.
- By default, Include Labels is set to ON. To disable the labels, click the button to set it to OFF.
- Select your desired output type. The options are:
- Interactive: Allows you to format, sort, or filter results within the application.
- Excel: Saves the report in Microsoft® Excel® format where you can do the formatting of results.
- Below Email delivery options, select your preferred notification option once the report has been generated.
- Type a name for your report in the Enter a Report Name text box
- Verify your selections and then click Submit.
- When a message box appears giving you the following options, click the next action that you want to do:
- Create another report of this type: Takes you to the appropriate report prompts for the current report that you are generating.
- Create a different report type: Takes you to the Reports home page.
- Go to My Content: Takes you to the My Content page, where you can access all generated assets.
- Go to My Jobs: Takes you to the My Jobs screen, where you can view the report generation status and the generated report.
NOTE: If you do not click any of the options, the system automatically takes you to the Job Export page containing tiles for possible actions on what you can do with your output.
If you selected the Interactive output type, the system takes you to the Interactive Report screen where you can format, sort, and/or filter the results.