Custom Reports: Create Template
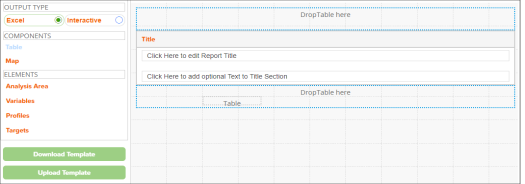
On the Custom Template Builder screen, enter a report title for the template, select the output type, add components (tables and/or maps), and
make any needed pre-selections.
NOTE: Interactive output is currently available for templates with only one table.
NOTE: Up to 10 components can be added to a template.
(Optional) Templates can be customized using the Download Template / Upload Template buttons.
After verifying your selections, click Save.

To Learn More:
- In the appropriate box, enter a report title.
(Optional) A subtitle can also be included in your report.

- Select an output type, Microsoft Excel or Interactive Output.
Note: Interactive output is currently available for templates with only one table. - To add a Table to the template, do the following:
- Drag and drop the Table component into the right pane.

- Change the table name by typing new text in the Table1 box.
(Optional) A table footer can be added by typing new text in the Click to change Table Footer box.

- Drag and drop any data element to add to the table as either a row or column.

- Click the edit icon to add pre-selections to your table. See Edit Table.
- Repeat steps a-d to add additional tables to the template. Up to 10 components (tables and/or maps) can be added to a template.
- To add a Map to the template, do the following:
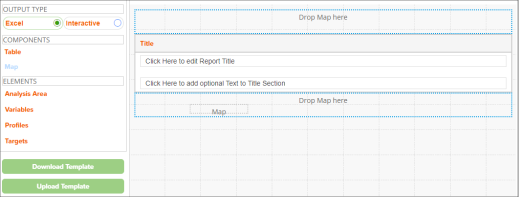
- Drag and drop the Map component into the right pane.

- Change the map name by typing new text in the Map1 box.
(Optional) A map header and/or footer can be added by typing new text in the Click to add/edit map header or Click to add/edit map footer box.

- Click the edit icon to add pre-selections to your map. See Edit Map.
- Repeat steps a-c to add additional maps to the template. Up to 10 components (tables and/or maps) can be added to a template.
- To modify the template, click Download Template. See Modify Template.
- After verifying your selections, click Save.
What's Next:
To run a report using your saved template, go to Custom Report: Run a Report Using a Saved Template.